はじめに
今回はレザークラフトでメスティンのハンドルカバーを作ってみました。
一般的に縫い目を見せる物が多いので、今回は内縫いで更に玉縁っぽく見せてみました。
YouTubeでも解説していますので、そちらも合わせてお願いします。
作り方
まずはじめにノートに作りたいイメージを図にします。あらかじめ寸法を記入しておくと後々作りやすいと思います。
僕は下記のような感じになりました。
自分が分かれば良いレベルでいつも描いています。
![](https://80-hammar.com/wp-content/uploads/2022/08/442c50a59b700920c8dbacaee154c027.jpg)
![](https://80-hammar.com/wp-content/uploads/2022/08/e598e49586a03f3620dc7e21daec8e48.jpg)
イメージ図が出来たら型紙を作成します。
内縫いなので、ディバイダーを使って縫い代部分3ミリほど大きく型紙を作りました。
![](https://80-hammar.com/wp-content/uploads/2022/08/a21a364440f61ae3ad8b4530affc023d.jpg)
![](https://80-hammar.com/wp-content/uploads/2022/08/d5cff4872e7c1932e4da74b6d3f7b70b.jpg)
![](https://80-hammar.com/wp-content/uploads/2022/08/d5b61c00341440073377f66d6c8a4968.jpg)
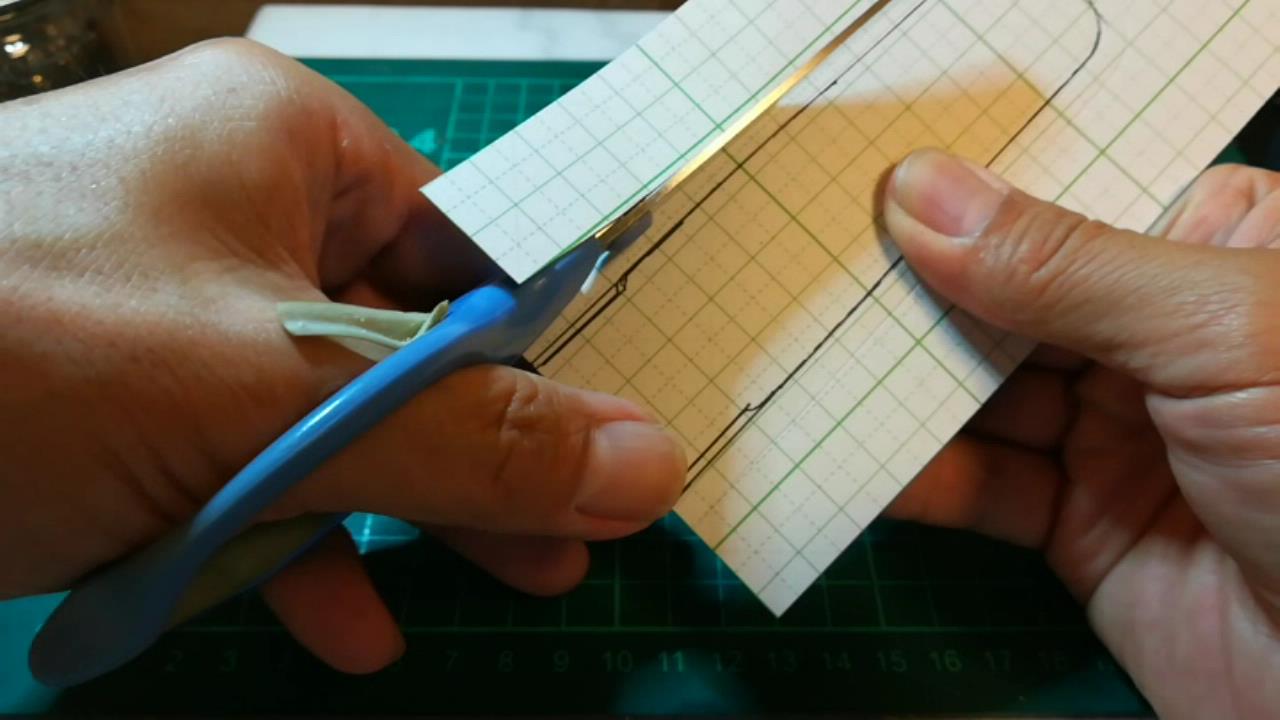
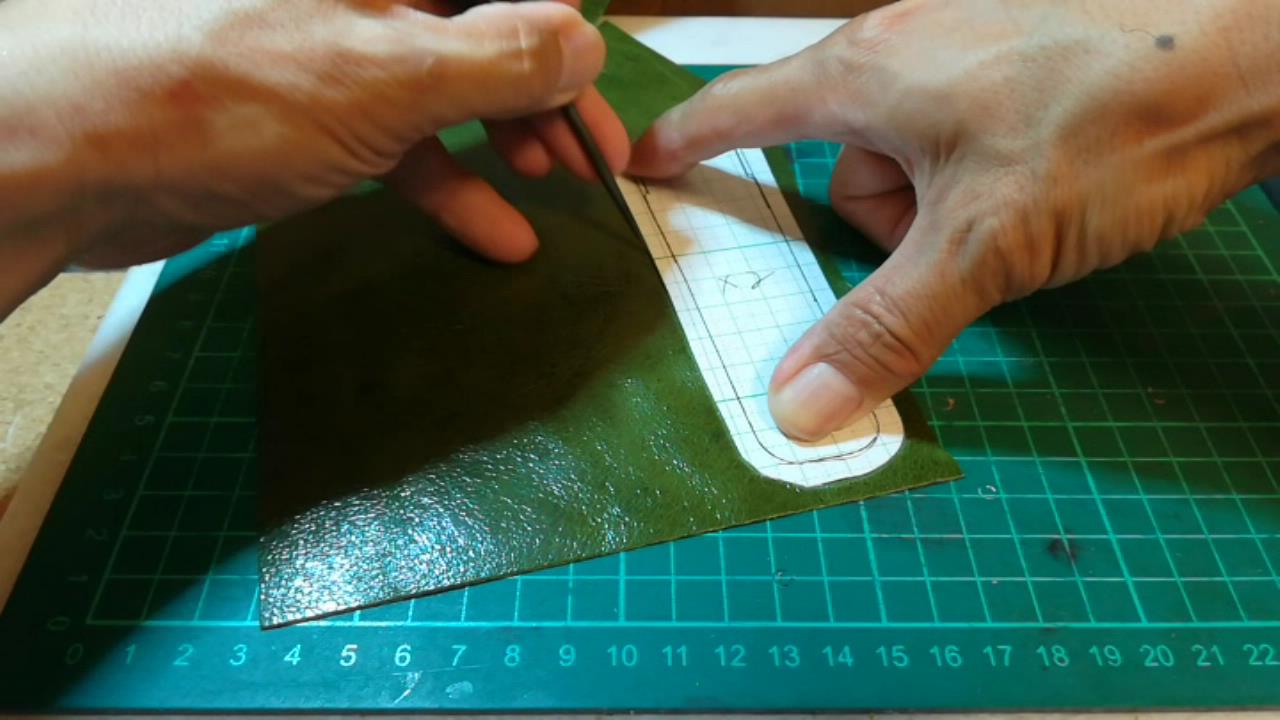
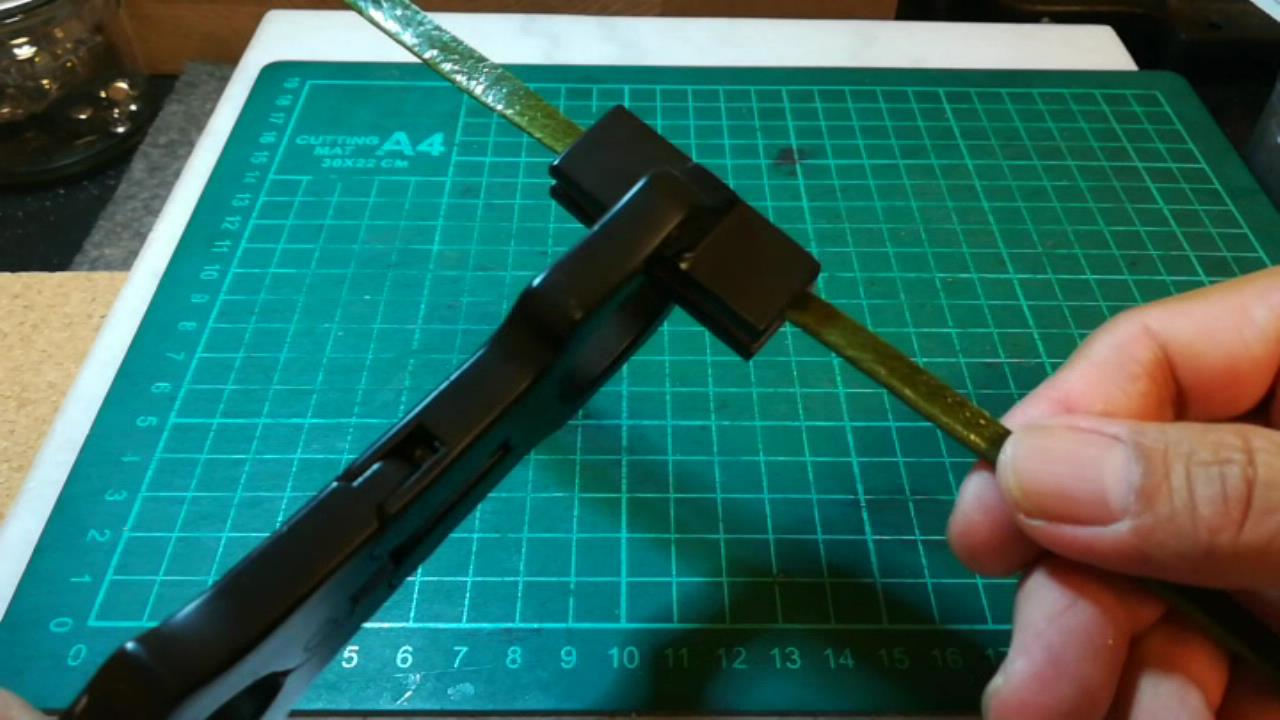
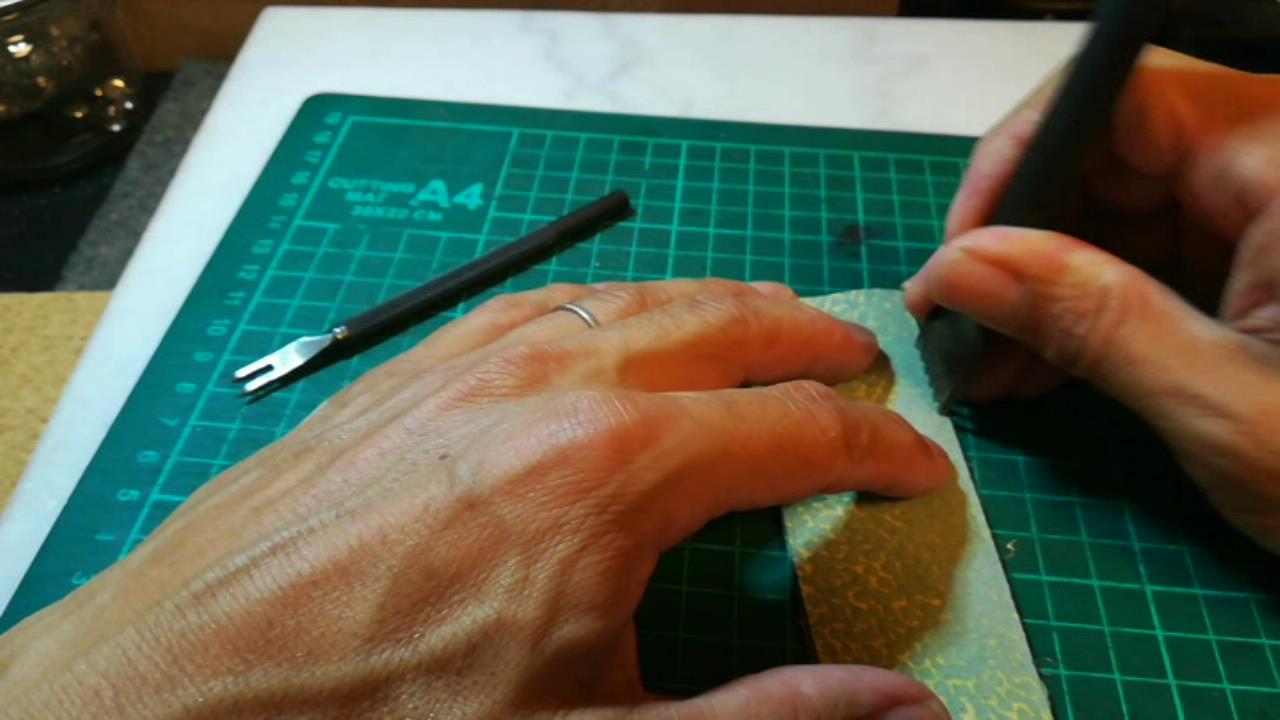
型紙を元に革にけがき、パーツを切り出します。
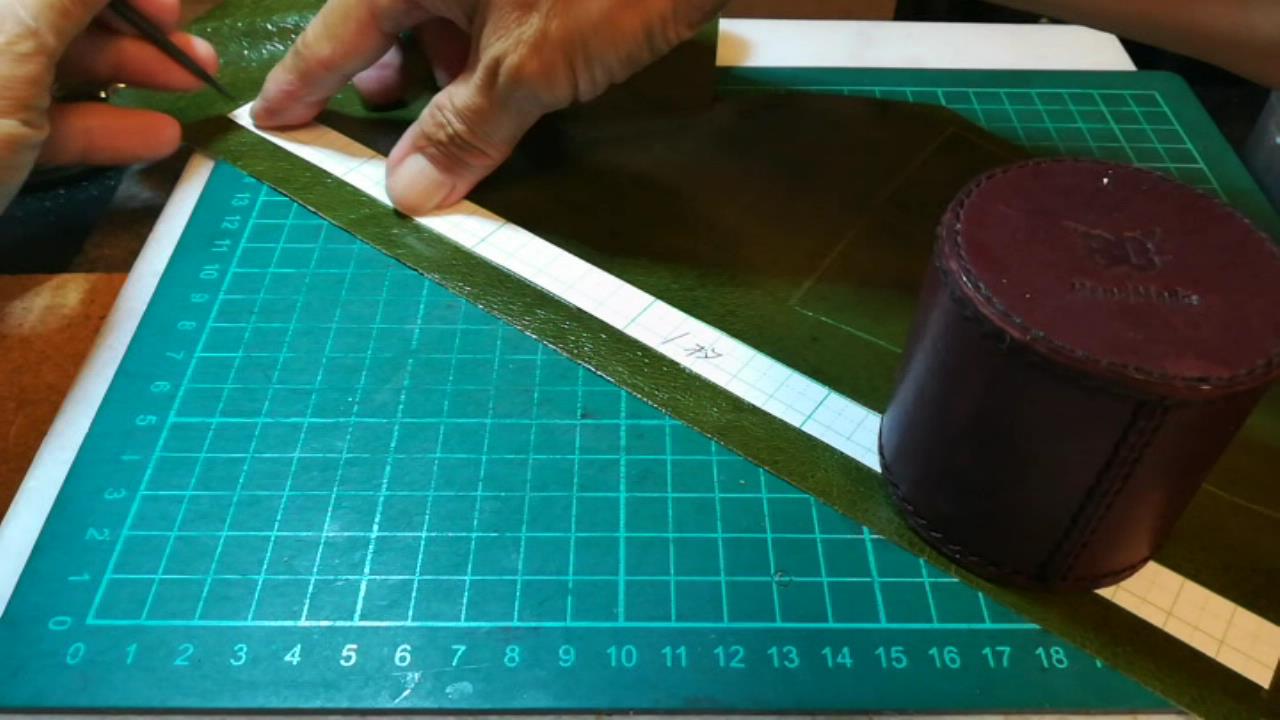
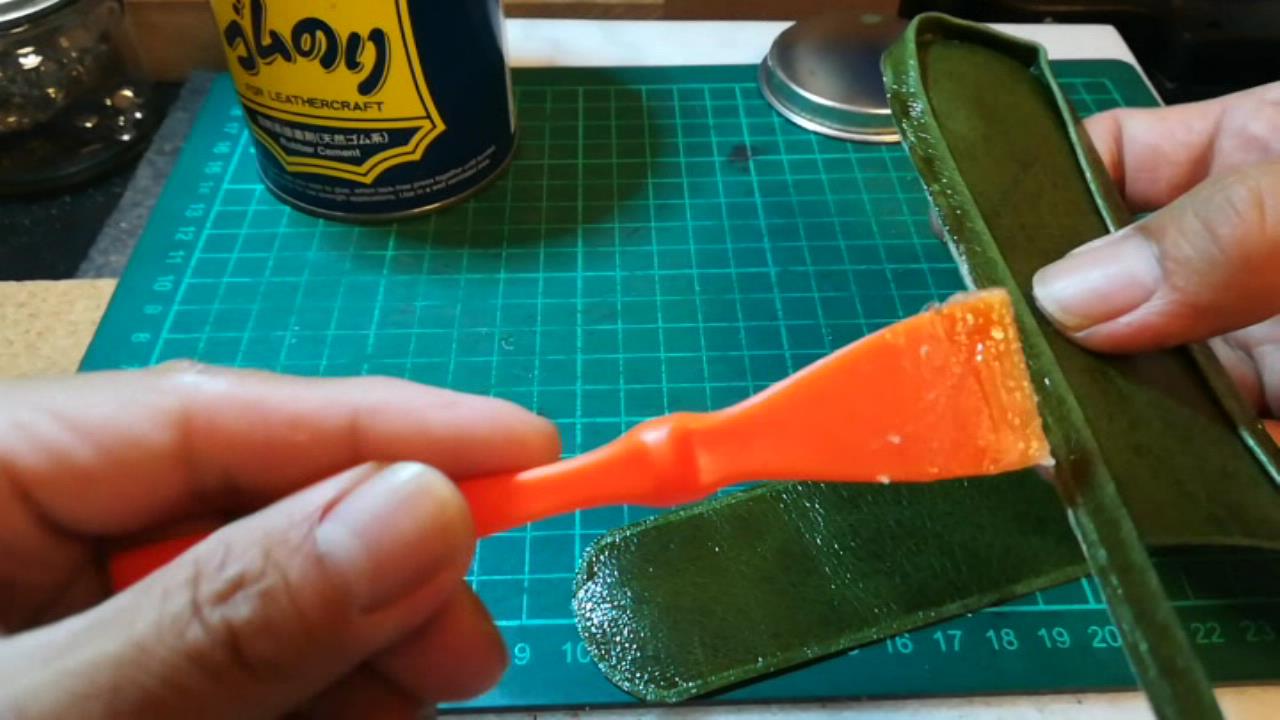
![](https://80-hammar.com/wp-content/uploads/2022/08/994398fee15175b3489078fa19fa151b.jpg)
![](https://80-hammar.com/wp-content/uploads/2022/08/1b03950b6f341538de7acba42fd0ec0c.jpg)
![](https://80-hammar.com/wp-content/uploads/2022/08/0bd6d1e7465bd53939fd23634945a91f.jpg)
![](https://80-hammar.com/wp-content/uploads/2022/08/3ce1a4b49d591dec81c5bd8f5d90724e.jpg)
玉縁部分を作ります。
本当なら芯を入れますが、今回は何ちゃって玉縁です。ゴムのりを使って貼り合わせます。
![](https://80-hammar.com/wp-content/uploads/2022/08/dd1dda6ec378b8cbd888fc75ac302a59.jpg)
![](https://80-hammar.com/wp-content/uploads/2022/08/b8358eb9e582f36affa30f49dd4ca2a0.jpg)
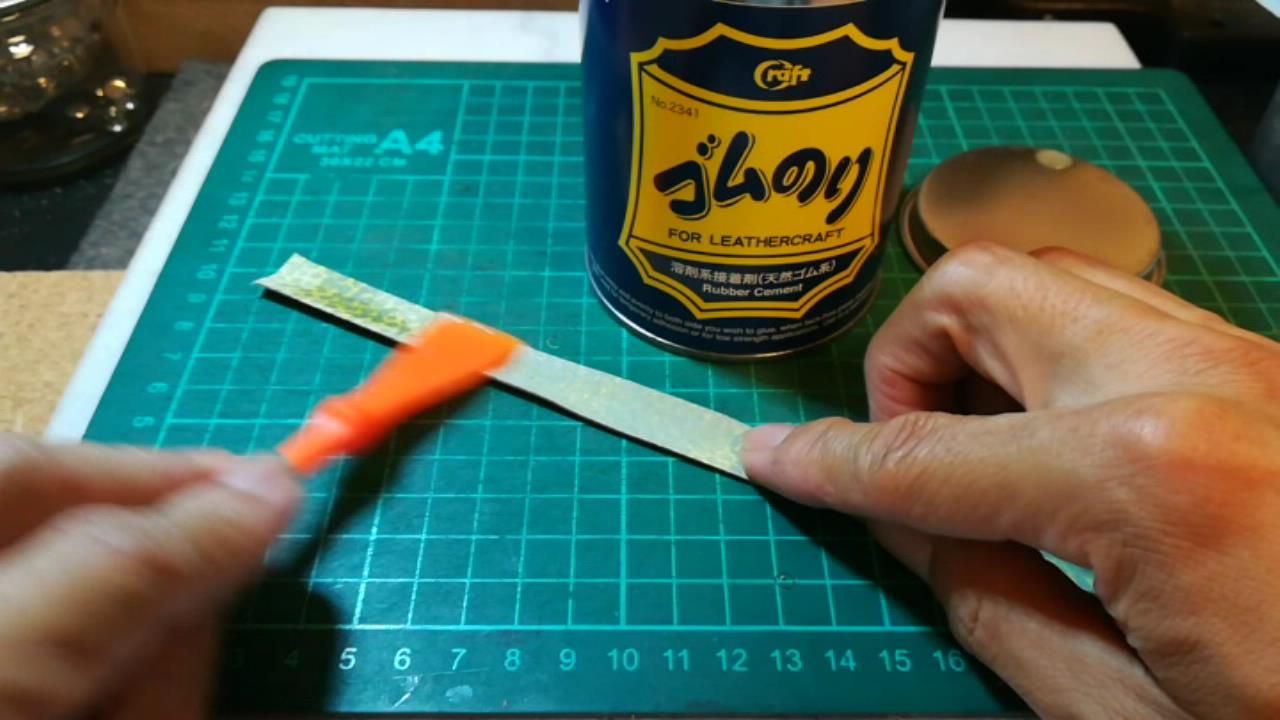
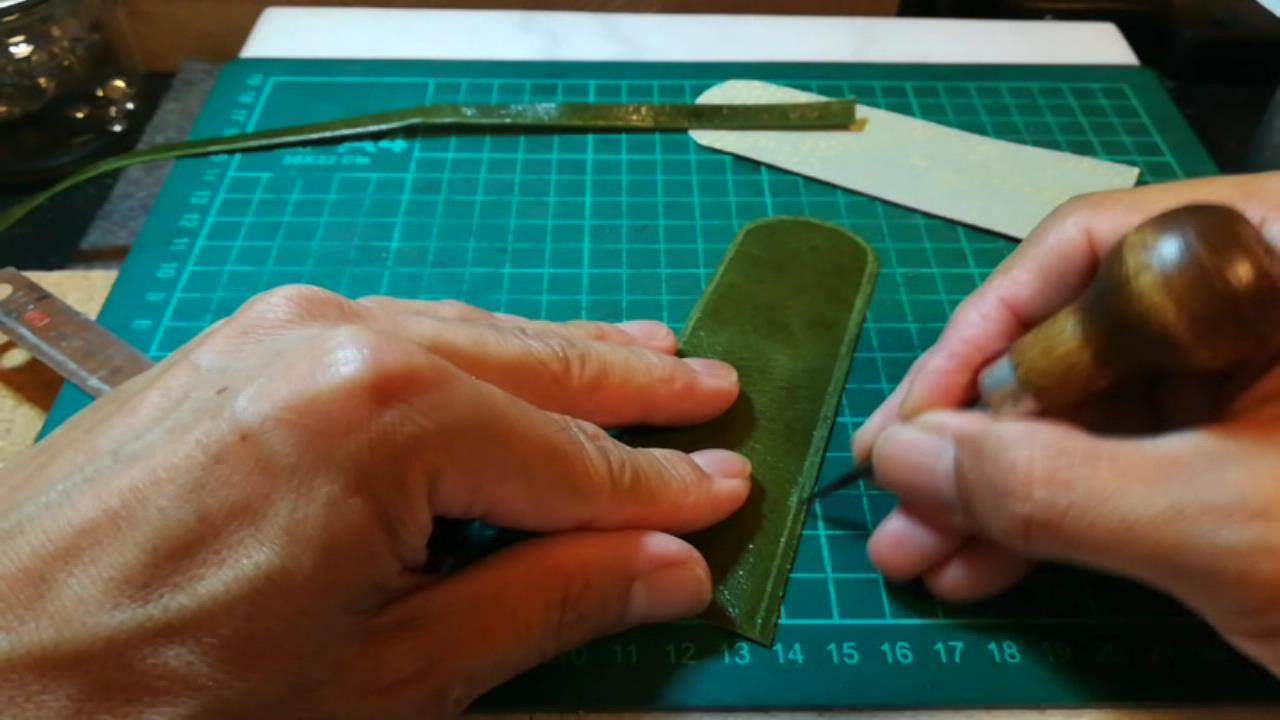
玉縁を本体に貼り合わせるために、少し傷をつけてゴムのりの接着をよくします。
![](https://80-hammar.com/wp-content/uploads/2022/08/e8f0ad45016dfe64c3382fe861f58544.jpg)
![](https://80-hammar.com/wp-content/uploads/2022/08/0f15c2d5f5c381c41ff895f6b6afbb18.jpg)
![](https://80-hammar.com/wp-content/uploads/2022/08/de7affb1a5ef0bbf2e51d4a330b54ef8.jpg)
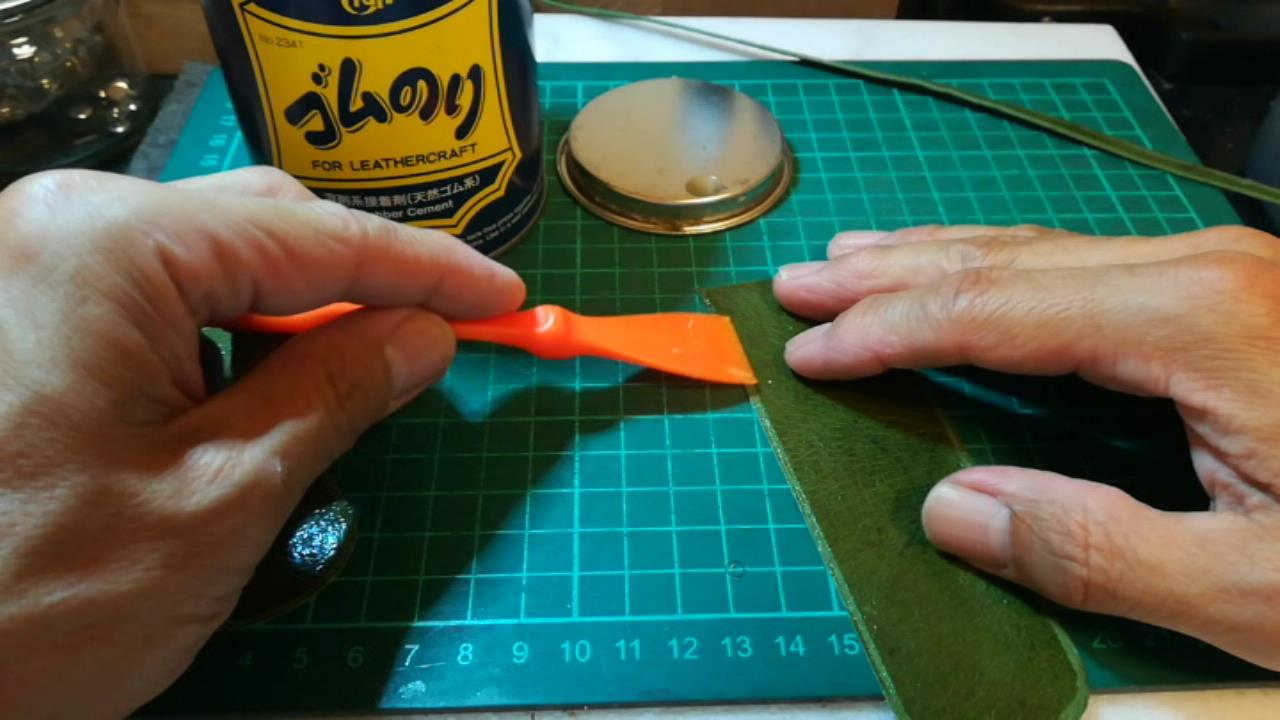
ゴムのりを塗り終わったら、本体に貼り合わせます。
この時、内縫いになるので貼り合わせに気をつけましょう。
![](https://80-hammar.com/wp-content/uploads/2022/08/8d58362a994713d96b54b9c5d8c08aad.jpg)
![](https://80-hammar.com/wp-content/uploads/2022/08/84a4f26f2e29777a245779377dcebbee.jpg)
![](https://80-hammar.com/wp-content/uploads/2022/08/c2730886e7f48fe214593a2354204d2a.jpg)
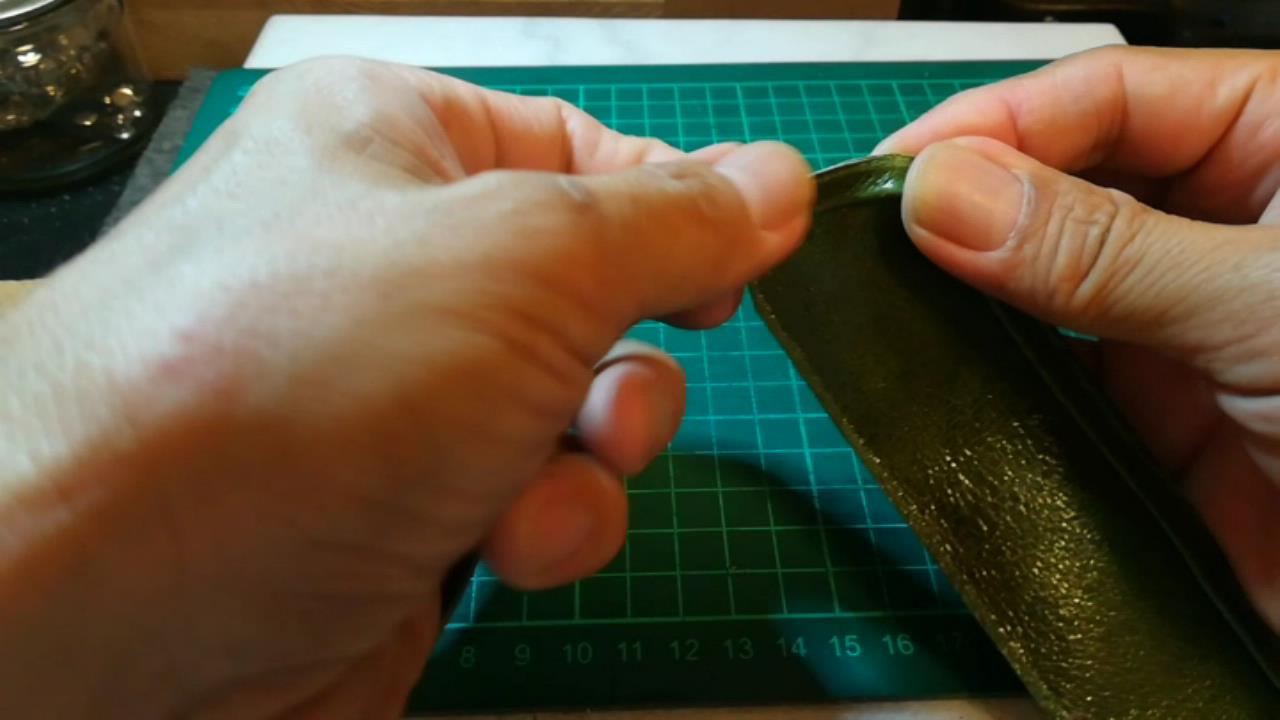
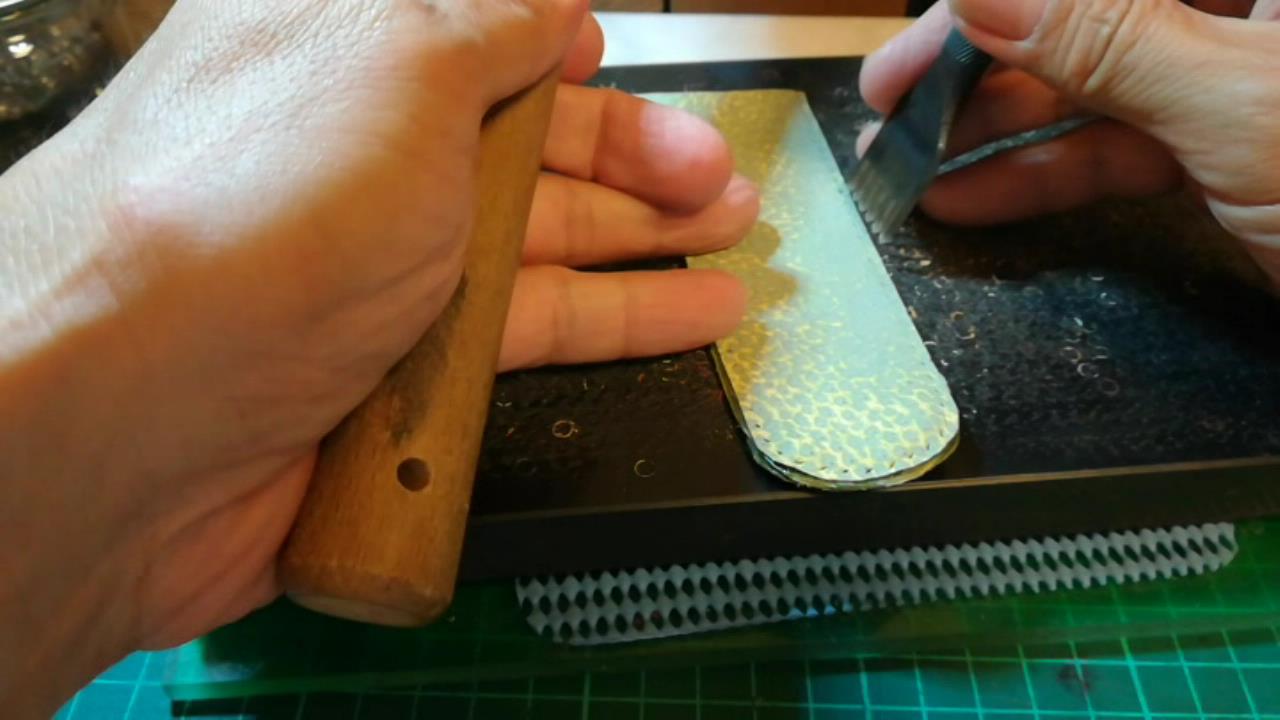
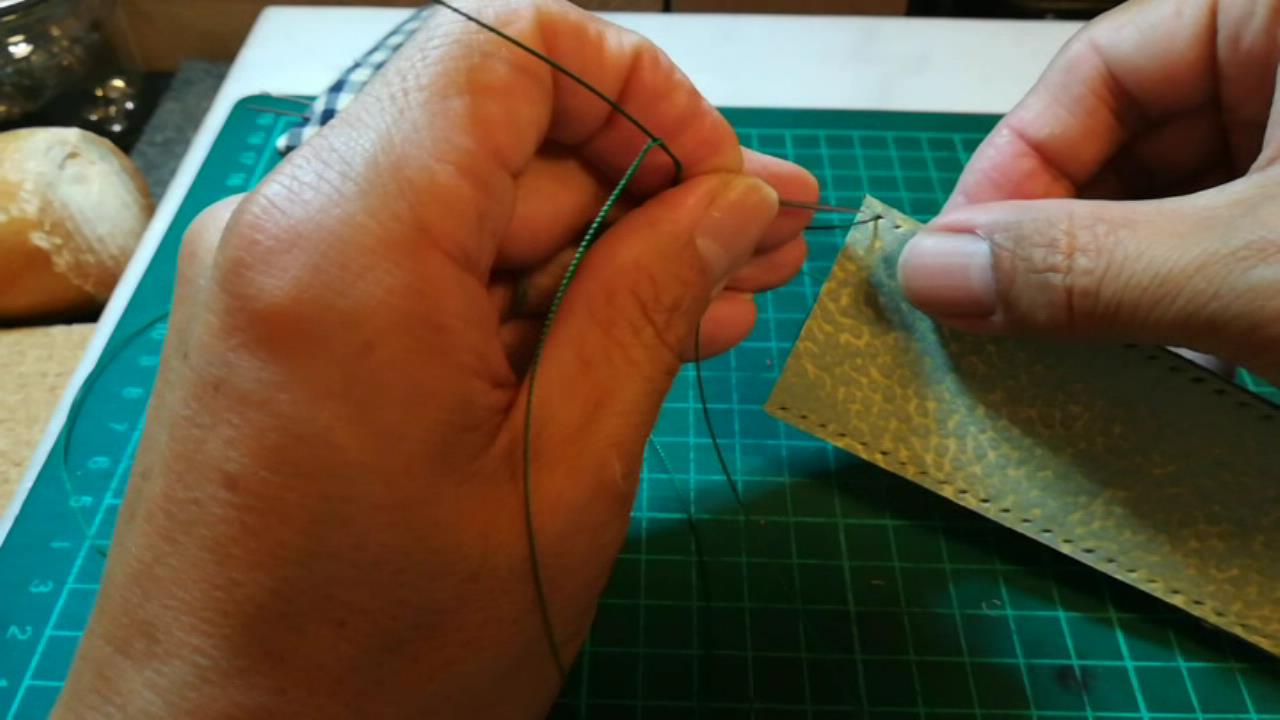
中表にして張り合わせると下準備は終わりです。縫い穴を開けて手縫いします。
![](https://80-hammar.com/wp-content/uploads/2022/08/54ed7d461b87597595c092bb2d656116.jpg)
![](https://80-hammar.com/wp-content/uploads/2022/08/d9e351d06ee1476706b6fce249a6787d.jpg)
![](https://80-hammar.com/wp-content/uploads/2022/08/b4f6e7172b2e48f93538de45e56291ea.jpg)
![](https://80-hammar.com/wp-content/uploads/2022/08/9fd82c5d35026d0de9e8c06700817795.jpg)
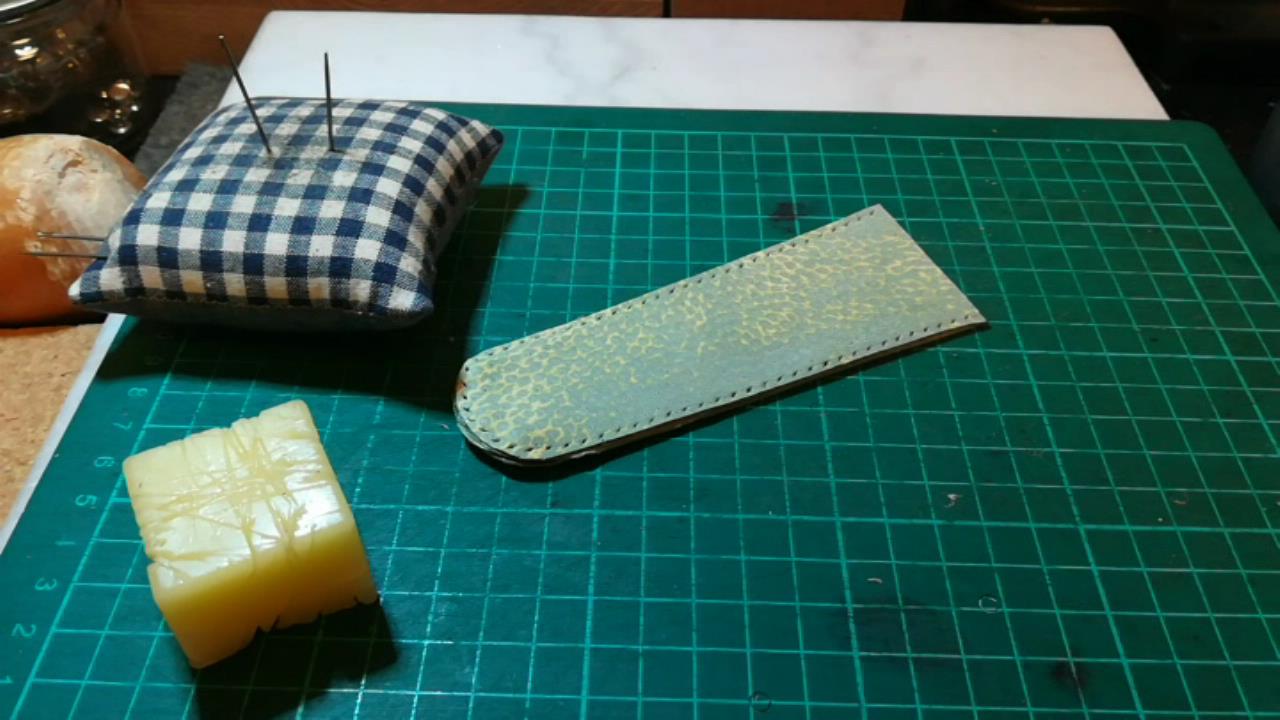
縫い終わったら、中表になっているので表に返します。
![](https://80-hammar.com/wp-content/uploads/2022/08/1e9d09479b15957cbb79839ade9a9784.jpg)
![](https://80-hammar.com/wp-content/uploads/2022/08/76e485fa609537e2b74f0af8e85c6697.jpg)
![](https://80-hammar.com/wp-content/uploads/2022/08/086a24b7b9dda34fad2a6eb3b10a6e94.jpg)
入口が小さいので、少し返しにくいですが、そんな時は水に濡らして柔らかくしてから返しても良いと思います。
ただ、革はデリケートなので、日陰で一日よく乾かして上げて下さい。
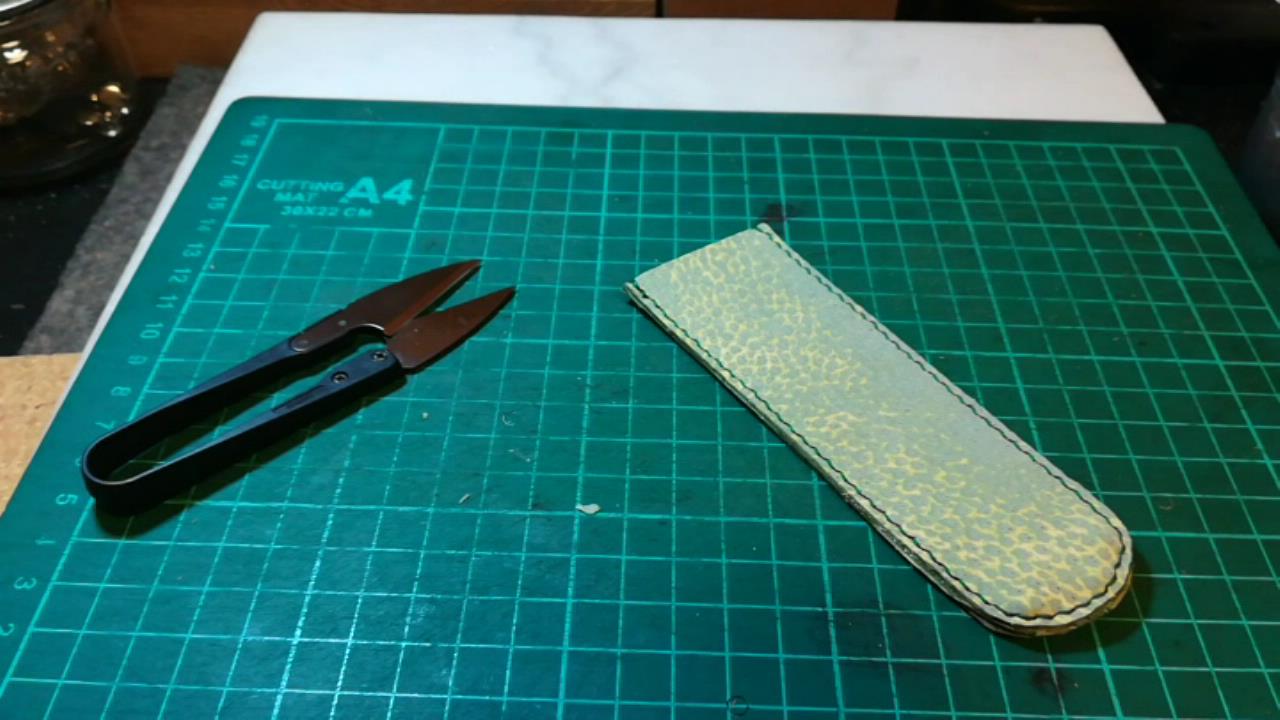
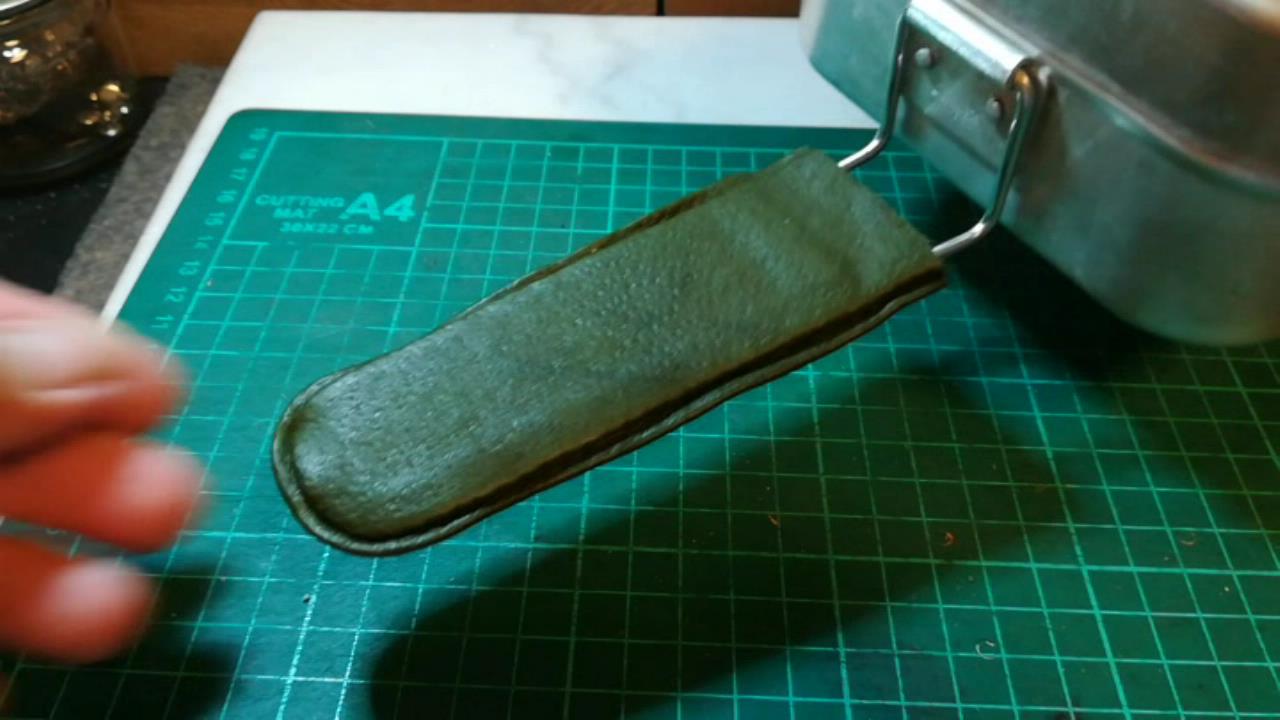
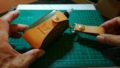
先まで全て返せたら完成です。
![](https://80-hammar.com/wp-content/uploads/2022/08/96b7069e509162d3be8a1fd7938f83d7.jpg)
![](https://80-hammar.com/wp-content/uploads/2022/08/a8b5478bd08efbca6ac8fcc2cd2c0c7f.jpg)
![](https://80-hammar.com/wp-content/uploads/2022/08/9926bc303a339f156c07f944a726d101.jpg)
実際に使用したら良い感じでした。
![](https://80-hammar.com/wp-content/uploads/2022/08/2e3dd1c1f967d14f94c8d92801ef08b7.jpg)
![](https://80-hammar.com/wp-content/uploads/2022/08/1fc575d40ef21be933793a338ab80bdd.jpg)
![](https://80-hammar.com/wp-content/uploads/2022/08/c4e77710d4797f01a6998ec099049c97.jpg)
おわりに
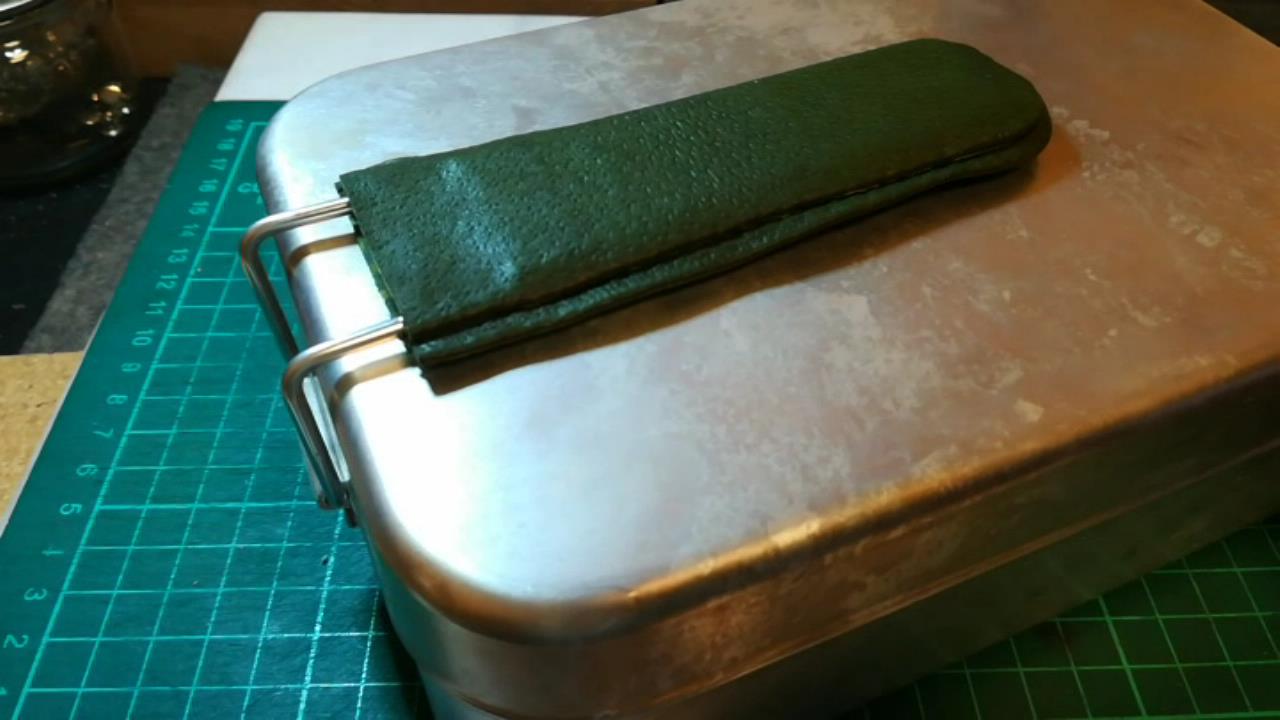
今回は内縫いで、メスティンのハンドルカバーを作ってみました。
内縫いで作っているのをあまり見かけないので、キャンプでも少し目立つかな?
何はともあれ、自分だけのオリジナルギアを持ってキャンプに出かけると、いつも以上にテンションも上がるのではないでしょうか?
皆さんもレザークラフトでキャンプギアを作ってみましょう!!
それでは、また(^^)/
コメント